Tap Dance for Beginners: First Steps, Shoes, and Practice
Tap dance for beginners starts with a few simple sounds: the toe tap, the heel drop, the shuffle, and the ball change. Tap is unusual because your feet are also your instrument, which means you can hear your own mistakes and your own progress. That makes it one of the more satisfying styles to practice, even in short sessions.
Below you will find the first steps to learn, what to look for in shoes, and how to practice at home without damaging a floor or annoying the people downstairs.
What you need to begin
- Tap shoes. Many teachers prefer that you ask them before you buy. A first class may let you borrow a pair or start in regular shoes.
- A suitable surface. Never practice tap on a floor you care about without checking first. Metal taps can mark wood and tile.
- A steady song. Medium-tempo swing or pop tracks are easier than very fast music.
Choosing your first pair
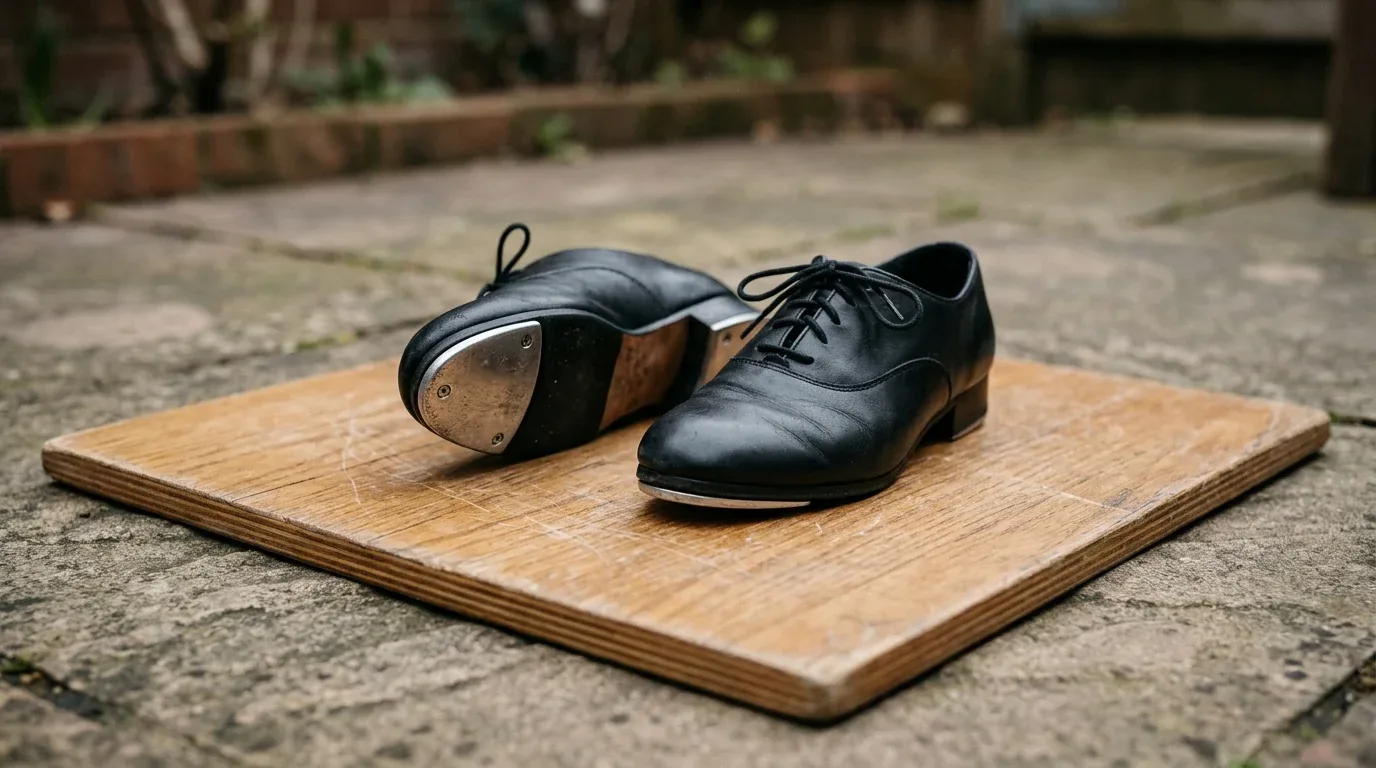
Look for a secure fit that stops your foot from sliding. Check the sizing guidance for the exact model, because tap shoe sizes may not match your street size. Lace-up oxford styles are popular for adults, and some beginner shoes have a softer sole. If you can, try them on in a store and tap a few steps. Our guide to the best dance shoes for beginners explains how to judge fit and what to ask before paying.
The first six sounds
Learn these in order. Stand with your weight on one foot, hold onto something if you like, and keep your ankle loose. Tap comes from a relaxed lower leg, not from stamping.
| Step | How to do it | Sounds |
|---|---|---|
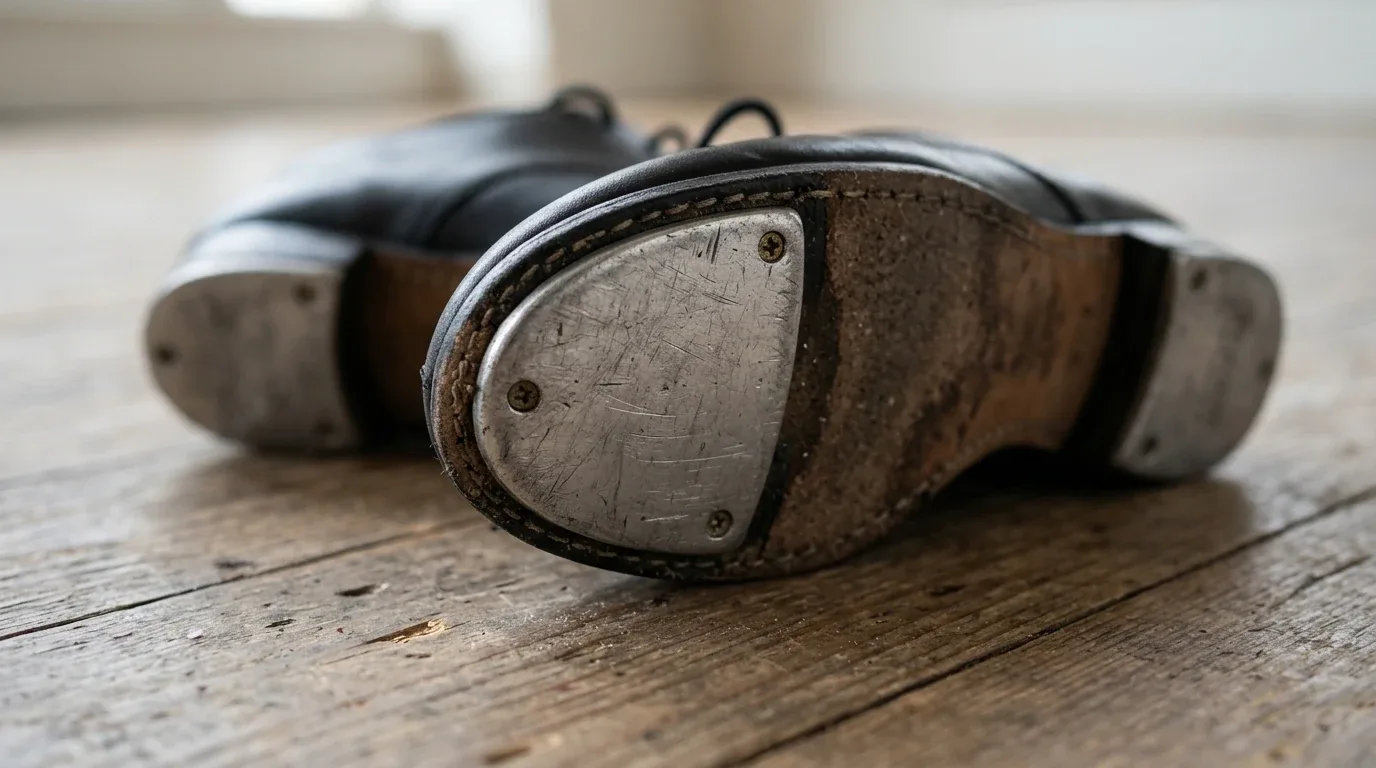
| Toe tap | Lift the front of your foot, then drop the toe tap on the floor | 1 |
| Heel drop | Stand on the ball of your foot and drop your heel | 1 |
| Brush | Swing the ball of your foot forward so it grazes the floor | 1 |
| Shuffle | Brush forward, then brush back | 2 |
| Ball change | Shift your weight to the back foot’s ball, then to the front foot | 2 |
| Flap | Brush forward and step down, moving your weight onto that foot | 2 |
Your goal is clarity. Two clean, separate sounds are better than two sounds blurred into one. Say the sounds out loud, such as “shuf-fle” or “ball-change,” and match your feet to your voice.
Your first short combination
Try this slowly, with no music at first:
- Shuffle with your right foot, then ball change onto the right and left.
- Repeat on the same side.
- Flap to the right, flap to the left.
- Do three toe taps with your right foot, and hold still for the last count.
The pause in step four matters. In tap, silence is part of the rhythm. Count every beat, including those without a sound. If your timing drifts, these rhythm and coordination drills use a metronome to steady your count, and they translate directly to tap.
Practicing tap at home
This is the part most beginners underestimate. Tap is loud, and metal is hard on floors.
- Use a tap board. A portable board gives you a surface to dance on. Ask what base it needs, and check how much room you have to move.
- Protect the floor below. Ask the seller how the board should be placed on your flooring.
- Think about noise. A board does not mean silence. If you live in an apartment, try one short session and ask your neighbors what they heard.
- Practice without taps. You can mark footwork in soft shoes or socks on a safe surface, then add the sound later. Take care on smooth floors, where socks can slip.
Compare options in this guide to flooring for dance at home, which covers tap boards and tap-approved floors.
A 15-minute practice session
This is a suggested plan and not a tested program. Adjust the times to suit you.
| Minutes | Focus |
|---|---|
| 3 | Warm up with walking, ankle circles, and gentle marching |
| 4 | Slow toe taps, brushes, and shuffles on each foot |
| 4 | Ball changes and flaps with a metronome |
| 3 | Your combination with a slow song |
| 1 | Write down one thing to repeat next time |
A warm-up matters even for small movements. The NHS offers a simple warm-up routine that starts with gentle marching.
Common beginner mistakes
- Stamping. Volume comes from a clean strike, not from force. Hitting harder often makes the sound worse.
- Tense ankles. Shake your feet out between drills.
- Going too fast. If you cannot say the sounds evenly, slow down.
- Leaning back. Keep your weight slightly forward, over the balls of your feet.
How you will know you are improving
Tap gives you an honest signal: your own sound. Record ten seconds of shuffles on your phone every couple of weeks and listen back without watching. You are looking for even spacing and two clear sounds in every shuffle. You may also notice that your ankles feel looser and that you can say the rhythm and dance it at the same time. Those small changes matter more than speed. When your slow version sounds clean, raise the tempo slightly and listen again. If it turns muddy, go back down.
Classes or teaching yourself?
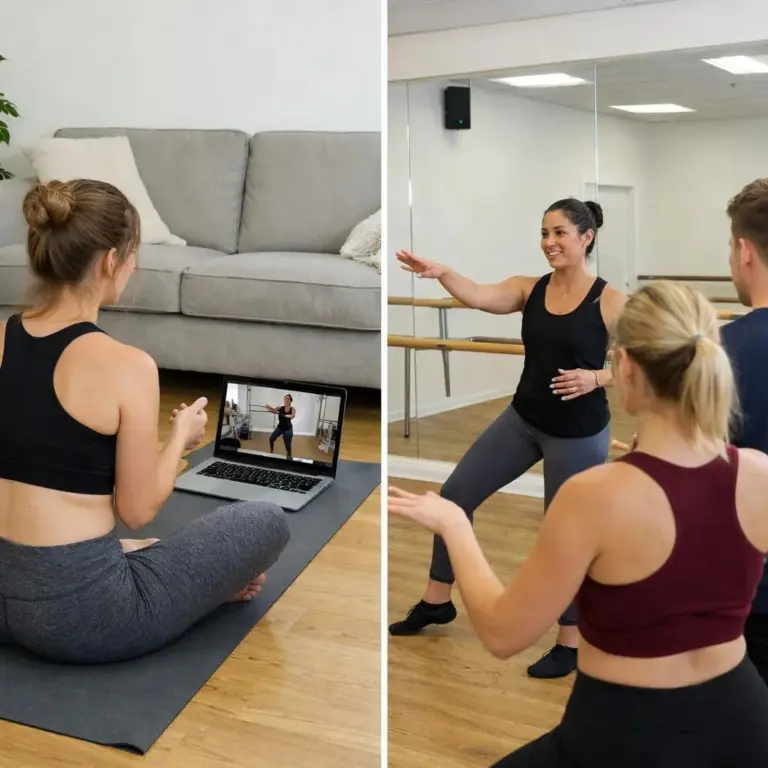
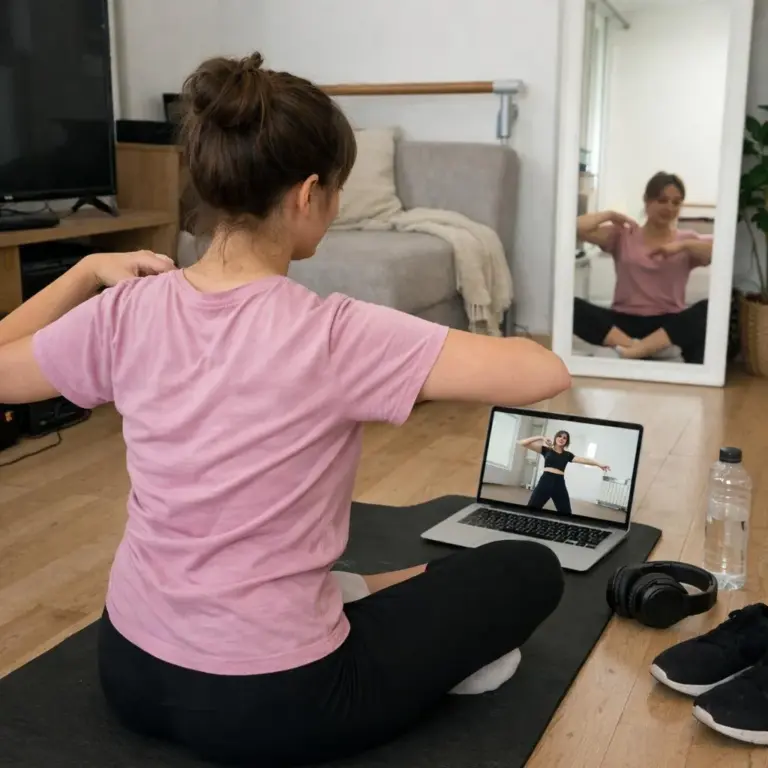
You can learn the first steps from videos, especially because you can hear when a sound is right. A teacher still helps a lot with weight changes and technique that a camera cannot show. If you start online, this guide to learning dance online explains how to choose lessons that build in a clear order.
Stop if your shins, ankles, or feet hurt, and take a rest day. If the pain continues, speak with a healthcare professional. For today, try one thing: ten slow shuffles on each foot, listening for two clear sounds.

GenDance Wellness is maintained by the GenDance Editorial Team and publishes informational content about dance fitness, beginner learning, dance gear, and safer home practice.